Upgrading a mouse with a 555 timer - written by NiXijav on 2015-12-20
Cookie Clicker is fun, but it is necessary to click a lot so my finger gets tired and my mouse broken. So, why not use a 555 timer to automate clicks?
I've been playing Cookie Clicker for the past hour. It is very addicting, but it advances quite slow. It is also necessary to click a lot, so mi finger gets tired and my mouse, destroyed. So, why not use a simple 555 timer to perform automatic clicks? Let's go!
The 555 timer is one of the most sold and used ICs in the world, due to its low cost, ease of use and application diversity, that ranges from a delayed switch to an oscilloscope. Here's a datasheet for the chip.
The timer has several working modes, monostable, bistable and astable. The one we need is the astable one.
In this mode, the chip will provide a constant pulse sequence specified by us. This is what we want to achieve, fast and constant pulses, just as if we were clicking the mouse.
Here's the circuit:
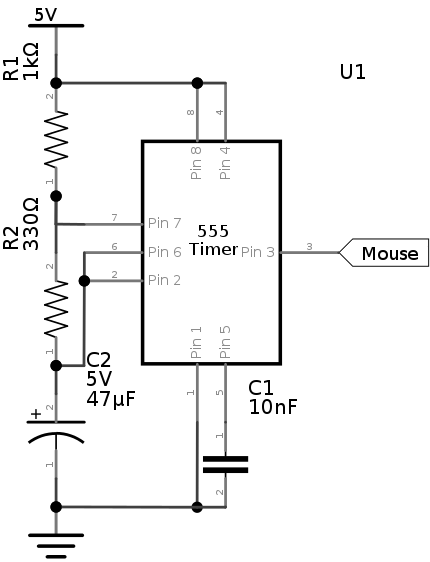
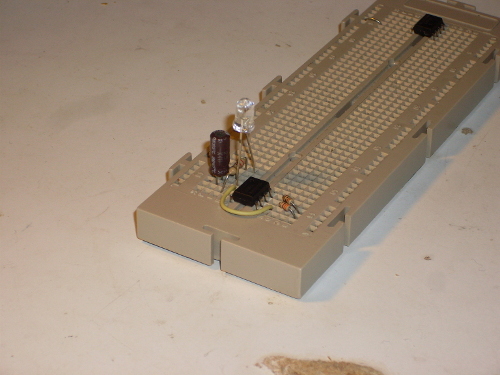
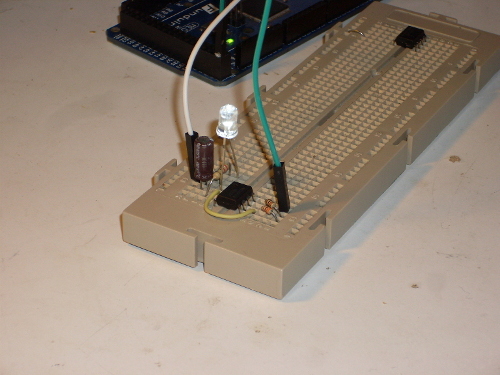
Quickly making this circuit on a breadboard, and connecting the output to an LED (instead of the mouse) we get this:
What frequency is being achieved with this circuit?
![]()
Wow! 18.5 Hz! Quite impressive, isn't it? That's a huge improvement over the manual click. Oh, and don't forget the period:
![]()
Furthermore, we can calculate charge and discharge times:
![]()
![]()
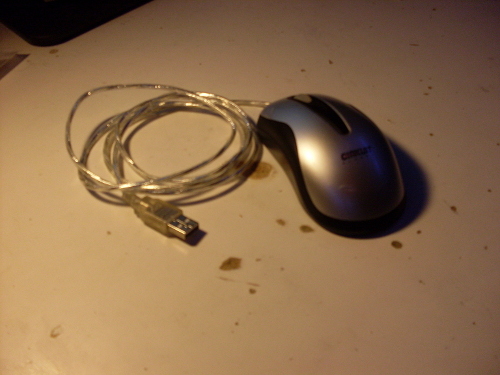
After all this calculations, and checking that the circuit is working properly, let's solder everything. In short, you must first check that there is room inside the mouse to house the circuit. It will be powered by the USB bus power itself. The following photos describe this process:
This mouse is very easy to open. Just 4 screws on the base and the top just pops off.
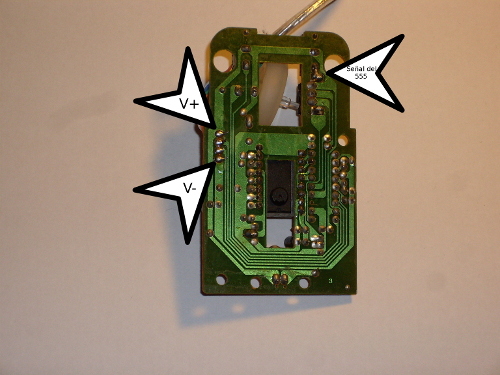
Next, remove the board from the case and analyze where cables should be soldered (V+, V- and signal).
V+ and V- come directly from the USB, and the signal wire should be soldered to the push button contact. This way, the button will preserve its original behaviour, but when we press the new added button, the signal will be sent through the original, performing the clicks. After connecting everything, we proceed to the reassembly.
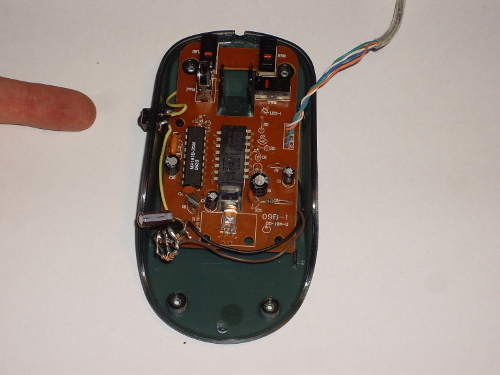
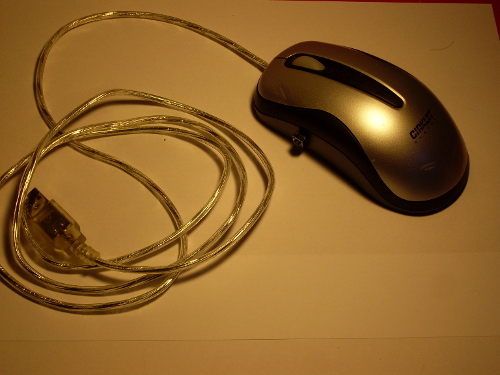
Be careful when accommodating the cables! Oh, and, my finger is pointing to the new button. After everything is again in place, my mouse looks like this:
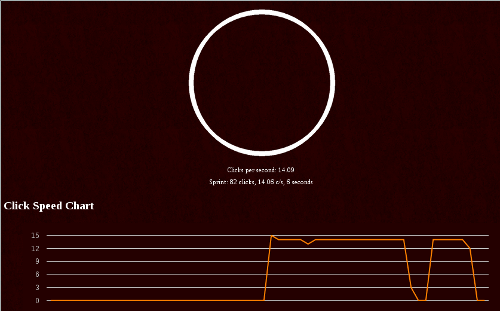
And last, but not least, quick check on cookie.riimu.net/speed


No comments yet
Leave a comment